Posted this same post on my other blog..........Sorry but with the bad internet connection right now, I have to be quick.
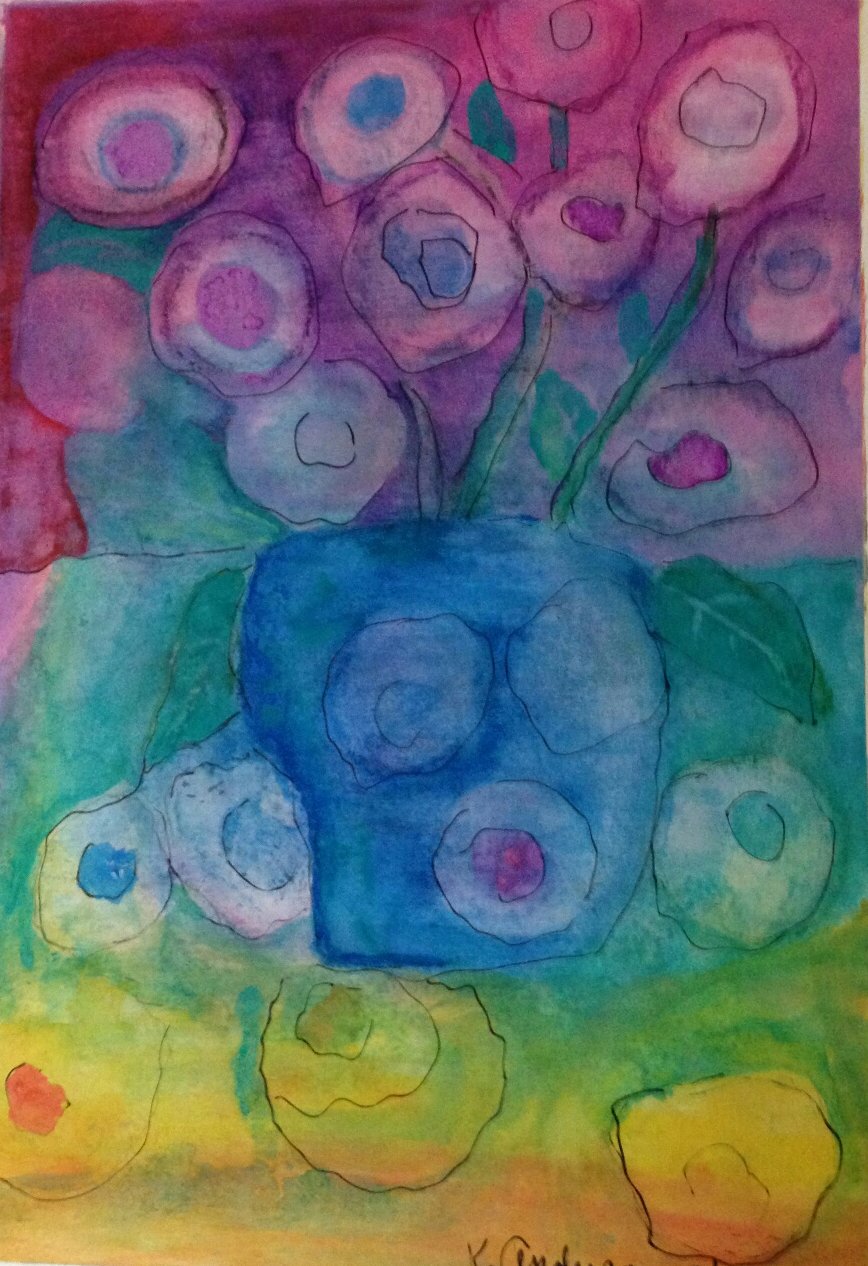
Between my art work and my Etsy shop, I'm trying to learn how to eat healthier. I'm not doing very good.
I HAVE added 3 days of exercise a week and each is 1 hour long. I do yoga on Monday and Tuesday and Thursday I do some weight exercises. I've been doing that for about 2 months and it feels good! It's called Silver Sneakers and it's FREE!
I want to eat less carbs, less is easy but cutting out bread, pasta and crackers is really difficult for me. I need some really good low carb ideas.
Low carb easy to make ideas.........easy recipes. I hate cooking and love to just grab and eat. Who invented meals anyway.
I think I'll check Pinterest. Help! Anyone with any good ideas? Anyone else want easy "meals"?
OK, guess it's time to go cook, ick!
Kathy